Why do inflatable objects (such as an air mattress or a workout ball) change shape when you sit or lie on it?
If the object is only filled with air, how is it that it can hold your weight up?
In this activity students brainstorm how compressible objects filled with air (such as air mattresses) are able to hold up the weight of a heavy object. Students then predict and observe the behavior of a plastic syringe. Using a basic syringe model in NetLogo students explore how the plunger level is related to air particle density on either side of the plunger. Students predict and explore the effects of pushing or pulling on the syringe plunger on the net forces acting on the syringe plunger. Students then design an experiment to test predictions about how particles in and outside of the syringe respond to these external forces. Finally, students using what they know about particle behavior, students explain how an inflatable air mattress can hold an individual and why the mattress returns to its original shape after the weight has been lifted. The teacher leads a consensus building discussion on particle interactions that account for these behaviors.
Cite the Modelsim research
 In previous activities, you had a chance to explore the particulate nature of matter. Specifically, you experimented with how gas particles diffuse throughout a room and how that behavior changes with temperature. In this activity, you will continue to experiment with gas particles and work to understand how the movement of these particles relates to pressure.
Purpose: How can objects inflated with air hold up the weight of other objects?
Overview: To investigate this question, you will record observations of a syringe filled with air, you will model the syringe together as a class, and will analyze the results from the model to explain the behavior of the syringe.
Brainstorm around this topic by considering the following questions. Include your response in the question below.

Why do inflatable objects (such as an air mattress or a workout ball) change shape when you sit or lie on it?
If the object is only filled with air, how is it that it can hold your weight up?
Question
"Why can I compress or expand a syringe filled with air?"

Predict
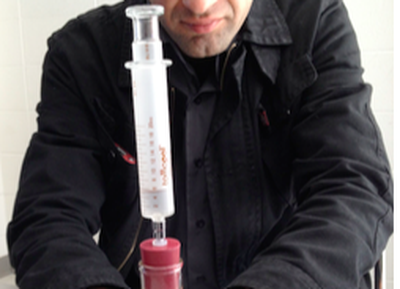
You will be given a syringe filled with only air and will cover the open end of it with your finger to close it off. Once the syringe is closed you will try to push down on the plunger. With the syringe still closed you will also try to pull the plunger out.
With the syringe capped at the end, do you think you will be able to push the plunger all the way down so that there is no volume left in the syringe for the air?
What do you expect to feel as you push the plunger down more and more?
With the syringe still capped at the end, what do you expect to feel as you pull the plunger out a bit?
With the syringe still capped at the end, if you let go of a plunger that you pushed in, what do you expect will happen to it?
Answer the questions below based on the observations you just made with the syringe.
Why does the plunger tend to return to where it started after you release the pressed in (or pulled out) plunger?
Why do you think it became harder to pull the plunger out, when you expanded the air in the syringe more?
Why do you think it became harder to push the plunger in, when you compressed the air in the syringe more?
Question
"Why does the plunger push back when I push on it?"
Model Rules
Your teacher will demonstrate a new model that represents the syringe. The blue wall will represent the edge of the plunger in the syringe. It is allowed to move back and forth within the piston depending what pushes or pulls on it. It can not move further then the edge of the syringe.

How do you think the motion of the plunger wall will compare when particles are put on only the inside or only the outside of the syringe compared to when particles are put on both sides of the syringe?
 Set the MOUSE-INTERACTION to "none - let particles move" (you can choose anything else) so that you control when the particles begin to move.

 Set the MOUSE-INTERACTION chooser to anything that isn't "none - let particles move", Press SETUP, and then GO/STOP/ADD ELEMENTS to run the model again.

Why does the plunger move to one end of the syringe when particles are put on only one side of the plunger?
Why are there some minor fluctuations in plunger position when particles are put on both sides of the plunger?
Why does the plunger position remain relatively stable when particles are put on both sides of plunger?
We are now going to start experimenting with a modified version of the virtual syringe model that will allow you to simulate applying upward and/or downward forces by drawing a force graph.
Watch the short video below that demonstrate how to draw an applied force vs. time graph in the model. Pay close attention to which part of the graph represents a push applied to the plunger, and which part represents a pull applied to the plunger.
Positive forces represent an external pull and negative represent an external push.
 Notice that part of this graph on the right represents no external push or pull applied to the plunger.
Predict
The plunger position will start at 0. The maximum plunger level is 15 (pulled all they way out) and the minimum is -15 (pushed all the way in). What will the shape of the graph look like over the time of model run for the force graph above? Write your answer below:
Sketch your prediction for the graph of the plunger position over the time of model run for the force graph seen in the previous question.

Now it is your turn to experiment with the Virtual Syringe Force graph model.
Sketch the Plunger Level graph for the previous run.

Sketch the Net Particle Forces line (that appears in the "Forces on Syringe Plunger" graph) from the previous run.

Compare the shape of these three graphs:
Why does the trapped air in the bottom part of the piston tend to push back more, the further the piston is pressed down?
Why does the general trend of the Net Particle Forces graph appear to be the additive inverse of the External Forces Graph?
If you used the graph below as a script to follow for pushing and pulling on the plunger of a real syringe, describe what you would doing during first half of the graph? What would be different during the second half of the graph?

If you ran the graph below as the external forces for the syringe model, with air on both the inside and outside of the syringe, sketch your prediction of how the plunger level of the piston would change over time to the right.


Sketch the Plunger Level graph for the previous run.

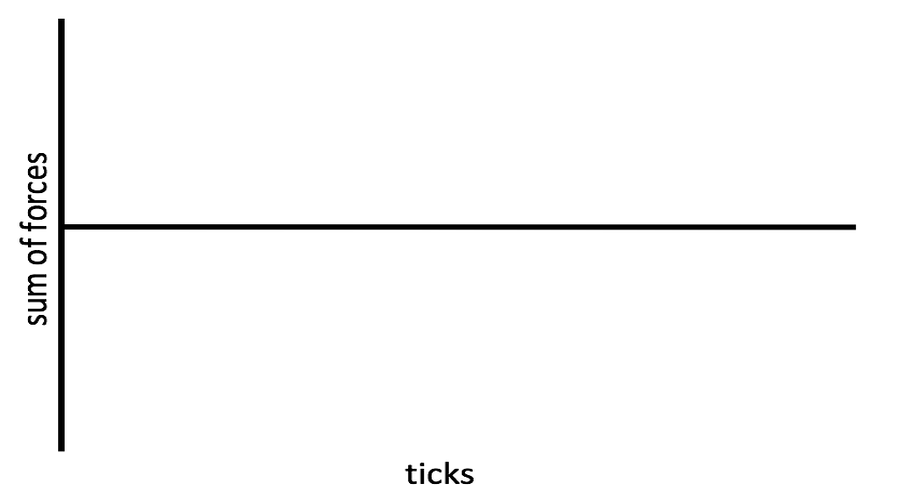
Sketch the Sum of Forces line (that appears in the "Forces on Syringe Plunger" graph) from the previous run.
How do the actions of the particles, both inside and outside of the syringe, lead to a situation where the net force on the plunger is zero during a plunger pull?
When pulling the plunger, at what point are the net forces on the plunger equal to zero?
How do the actions of the particles, both inside and outside of the syringe, lead to a situation where the net force on the plunger is zero during a plunger push?
When pushing the plunger, at what point are the net forces on the plunger equal to zero?
What aspects (if any) of your prediction for the plunger position graph, matched the outcomes in the model?
Now that we've completed a number of explorations about how force interacts with pressure, lets revisit the questions asked at the beginning of the activity.
Why does an object filled with air return to its original shape when you release the pressure you've placed on it?
An inflatable object (such as an air mattress or a workout ball) changes shape when you sit or lie on it. If it is only filled with air, why can it hold you up?
